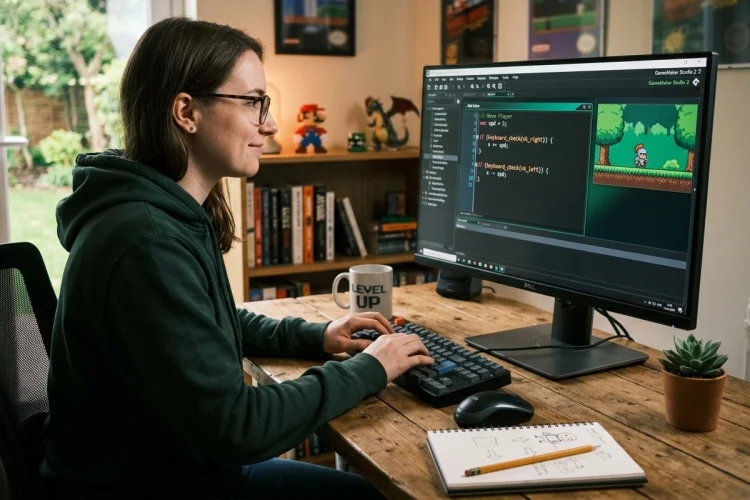
Writing your first line of code can feel intimidating. You may worry about strange symbols, complicated commands, or accidentally breaking your entire project.
The good news is that GameMaker Language, better known as GML, is designed to make game programming relatively approachable.
GML lets you control almost everything that happens in a GameMaker project. You can use it to move characters, detect keyboard input, manage health, calculate scores, create enemies, play sounds, and build complete gameplay systems.
You do not need to learn the whole language before making something interactive. Your first GML code can be as simple as giving a player a movement speed and changing its position when an arrow key is held.
In this beginner GML tutorial, you will create a basic controllable object while learning how variables, events, conditions, and input functions work. By the end, you will understand not only what to type, but also why each instruction belongs where it does.
What You Need Before Writing GML Code
Begin by opening GameMaker and creating a blank project using GML Code rather than GML Visual. A blank project gives you an empty workspace where you can create the assets needed for a simple experiment.
Your first project only requires three main elements: a sprite, an object, and a room. The sprite provides the image, the object contains the behaviour, and the room is the space where an instance of that object appears.
GameMaker’s official Quick Start Guide follows this same general workflow. A developer creates a sprite, assigns it to an object, adds code through an object event, places an instance inside a room, and then runs the project.
You can draw a small square inside GameMaker’s Image Editor rather than creating detailed artwork. Placeholder graphics are perfectly acceptable because the goal is to practise programming, not produce polished visuals.
Name the assets clearly:
spr_playerfor the spriteobj_playerfor the objectrm_gamefor the room
Clear naming becomes increasingly important as a project grows.
Understand the Basic Structure of GML
GML code consists of statements that tell GameMaker to perform particular actions. Statements are normally separated with semicolons, while curly brackets group several instructions into one block.
A simple assignment looks like this:
move_speed = 4;
The name move_speed is a variable. The equals sign assigns a value, while 4 is the information stored inside that variable.
You can also leave comments for yourself or other developers:
// Set the player's movement speed
move_speed = 4;
GameMaker ignores text placed after the two forward slashes. Comments are useful for explaining decisions, marking unfinished features, or making unfamiliar code easier to understand later.
GML also supports conditions, functions, loops, arrays, structs, and many other programming features. However, variables and simple expressions are enough for your first experiment.
Add Your First Code to the Create Event
GameMaker is event-driven. This means that code is placed inside events that run at specific moments, rather than being stored in one giant block.
Open obj_player, select Add Event, and choose the Create Event. This event runs when an instance of the object is first created, making it an ideal place to establish starting values such as speed, health, ammunition, or character state.
Enter the following code:
move_speed = 4;
health = 3;
player_name = "Nova";
You have now created three instance variables. move_speed controls movement, health stores the number of available health points, and player_name contains a piece of text called a string.
Variables assigned inside an object event are instance variables by default. Each instance can therefore hold its own values, while variables declared with var are local to the current event or function call.
The code will not create visible movement yet. It only prepares the information your player object will use later.
Write Basic Player Movement in the Step Event
The Step Event runs continuously while an instance exists. It is commonly used for keyboard input, movement, timers, enemy logic, and other behaviour that must be checked repeatedly.
Add a Step Event to obj_player and enter this code:
var _move_x = keyboard_check(vk_right)
            - keyboard_check(vk_left);

var _move_y = keyboard_check(vk_down)
            - keyboard_check(vk_up);

x += _move_x * move_speed;
y += _move_y * move_speed;
The variables _move_x and _move_y are local variables. The underscore is not compulsory, but many developers use it to make temporary local values easier to recognise.
The keyboard_check() function returns whether a specified key is currently being held. GameMaker provides constants such as vk_left, vk_right, vk_up, and vk_down for the arrow keys.
When only the right arrow is held, _move_x becomes 1. When only the left arrow is held, it becomes -1. If neither key or both keys are held, the result is 0.
The final two lines update the object’s built-in x and y positions. Multiplying the direction by move_speed determines how far the instance moves during each step.
Place the Player in a Room and Test It
Open rm_game and drag obj_player from the Asset Browser into the room. The placed copy is called an instance.
Run the project using GameMaker’s play button. Your square or character should now respond to the arrow keys.
This is an important milestone. Although the code is small, you have already connected several core game-development concepts: an object, an instance, event-based programming, variables, player input, and real-time movement.
When the character does not move, check whether the correct object was placed in the room. Also confirm that the movement code is inside the Step Event and the move_speed variable is initialised in the Create Event.
Test after every small change. Frequent testing makes it easier to identify which new line introduced a problem.
Add a Condition and One-Time Input
Holding a movement key should produce continuous movement, but some actions should happen only once per press. Jumping, opening a menu, confirming dialogue, or firing a single shot often requires one-time input.
Add the following code beneath the movement instructions:
if (keyboard_check_pressed(vk_space))
{
    show_debug_message("The space bar was pressed!");
}
An if statement checks whether a condition is true. The instructions inside the curly brackets run only when that condition is satisfied.
Unlike keyboard_check(), which remains true while a key is held, keyboard_check_pressed() returns true only during the step in which the key changes from released to pressed.
The show_debug_message() function sends information to GameMaker’s Output window. It is useful for confirming that input, variables, and gameplay events are behaving correctly.
Run the game and press the space bar. Look at the Output window to see the message appear.
Use Debug Messages to Understand Your Code
Errors are a normal part of programming. Even experienced developers regularly misspell variable names, forget brackets, or place an instruction in the wrong event.
Suppose you want to inspect the player’s current position. Add this temporary line to the Step Event:
show_debug_message("Player X position: " + string(x));
Because x is a number, string(x) converts it into text so it can be joined to the message. The output will update repeatedly as the character moves.
Do not leave a message like this running every step in a finished project because it can flood the Output window. Use it temporarily, find the problem, and then remove or comment out the line.
GameMaker also includes code completion and error reporting through Feather, while its Debugger can inspect variables and pause execution at breakpoints.
Start with the simplest debugging question possible: “Did this code run?” A small message often provides the answer immediately.
Common Beginner GML Mistakes
One frequent mistake is typing an asset name incorrectly. GameMaker treats obj_player, obj_Player, and objplayer as different identifiers, so consistent spelling matters.
Another problem is using a variable before creating it. When move_speed is needed in the Step Event, initialise it first in the Create Event.
Brackets also need to match correctly:
if (health <= 0)
{
    show_debug_message("Player defeated");
}
If an opening bracket has no closing partner, GameMaker will report an error. Indenting the contents of each block makes missing brackets easier to notice.
Avoid pasting large amounts of unfamiliar code from tutorials. Add a few lines at a time, run the project, and explain each line to yourself before continuing.
How to Improve Your First GML Project
Once basic movement works, add one small feature rather than attempting a complete role-playing game. You could create a collectible, add a score variable, prevent the player from leaving the room, or display health on the screen.
A useful next step is replacing arrow-key input with both arrow and WASD controls. You could then explore collision detection, animation changes, sound effects, or transitions between rooms.
Keep related responsibilities organised. Starting values belong naturally in the Create Event, continuously updated logic usually belongs in the Step Event, and custom drawing belongs in a Draw event.
GameMaker’s official beginner resources recommend completing a small playable game before moving to a more complicated project. The official tutorial collection includes short starter projects as well as platformer, arcade, and role-playing game lessons.
Finishing a tiny game teaches more than endlessly planning an enormous one.
Writing your first GML code is mainly about connecting simple instructions to visible results. You create variables in the Create Event, check input in the Step Event, and update built-in properties such as x and y to make an object move.
From there, conditions let the game make decisions, while debug messages help you understand what is happening behind the scenes. Mistakes are part of the process, so test frequently and keep each new feature small.
Open GameMaker and recreate the movement example from scratch rather than copying it blindly. Once it works, change the speed, add another key, or create a collectible.
Every small experiment will make GML feel more familiar and bring you closer to completing your first original game.