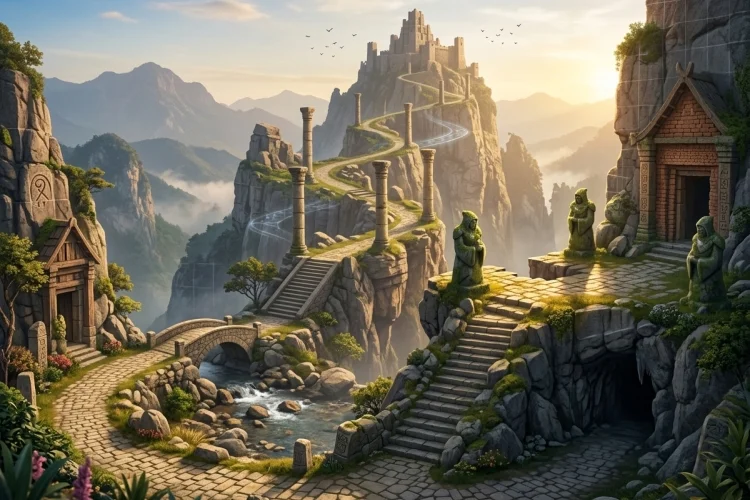
A level can look beautiful and still be frustrating to play. Players may get lost, miss important objects, encounter unfair enemies, or spend too much time walking through empty spaces.
Good level design is not simply about decorating a room. It is about guiding the player through a clear, enjoyable sequence of decisions and challenges.
For GameMaker developers, level design usually begins in the Room Editor. Rooms contain the objects, tiles, backgrounds, paths, effects, and other elements that form the playable world.
GameMaker also uses layers to organise these elements and control how they appear on the screen. Understanding level design fundamentals will help you create stages that feel intentional rather than randomly assembled.
This guide covers room planning, visual communication, difficulty progression, tilesets, cameras, enemy placement, and playtesting. The ideas can be applied to platformers, top-down adventures, puzzle games, shooters, and many other 2D genres.
Start with the Player’s Core Actions
Before designing a level, identify what the player can actually do. A platformer may focus on running, jumping, climbing, and avoiding hazards. A top-down action game might revolve around movement, attacking, dodging, and interacting with objects.
Every section of the level should give the player a reason to use those abilities. If your character has a wall-jump mechanic, the level should include spaces where wall jumping creates interesting choices.
If the game includes a dash, design gaps, enemies, and shortcuts that make the dash useful.
Avoid introducing too many mechanics at once. A beginner-friendly level might first teach normal movement, then present a small obstacle, and finally combine movement with an enemy or environmental hazard.
This creates a natural learning sequence:
Introduce, practise, and test
First, introduce a mechanic in a relatively safe situation. Next, let the player practise it with slightly more pressure. Finally, combine it with another mechanic to test whether the player understands it.
For example, a moving platform may first appear above safe ground. Later, it may carry the player over spikes. Near the end of the level, the player might need to jump between several moving platforms while avoiding an enemy.
Plan the Level Before Adding Artwork
It is tempting to begin with polished tiles, detailed backgrounds, and decorative objects. However, visual detail can make it harder to notice structural problems.
Start with a simple blockout using plain tiles, rectangles, or temporary objects. Focus on room size, pathways, jump distances, enemy positions, and the location of the main objective.
GameMaker rooms are the spaces where instances, tile maps, sprites, paths, backgrounds, sequences, text, and particle systems can be placed. Each type of content can be organised on separate layers inside the Room Editor.
A rough blockout allows you to change the level quickly. Moving a plain wall takes seconds, while rebuilding a highly decorated section may take much longer.
Test whether the route is understandable without signs or detailed art. If players cannot determine where to go in a simple version, decoration alone probably will not solve the problem.
Use the Room Editor and Layers Effectively
GameMaker’s Room Editor is the main workspace for assembling levels. It allows you to position instances, paint tiles, place visual assets, edit paths, and organise the entire scene.
Layers help separate different parts of the level. A typical room might contain:
- A background layer for the sky or distant scenery
- A tile layer for floors and walls
- An instance layer for enemies and interactive objects
- A foreground layer for visual elements drawn above the player
Layers also affect drawing order through their depth. Assets on lower-depth layers appear in front of assets on higher-depth layers. They can additionally be moved, offset, or modified through code.
Use clear names such as Background, GroundTiles, Collision, Enemies, and Foreground. Descriptive layer names make a large room easier to edit and reduce the chance of placing an asset in the wrong location.
Avoid putting every object on one enormous instance layer. Separating enemies, pickups, doors, and environmental objects can make selection and debugging much easier.
Build Environments Efficiently with Tilesets
Tilesets are collections of small images arranged on a grid. Individual tiles can be painted onto tile-map layers to create floors, walls, platforms, roads, buildings, and other static scenery.
GameMaker’s Tile Set Editor divides one source image into equally sized cells. The top-left cell must remain empty because GameMaker uses it as the empty tile and as the erasing tile in the Room Editor.
Tiles are useful because they allow developers to build large environments faster than placing every visual element as a separate object. Tile maps are also generally more suitable than object instances for static decorative geometry.
Create tiles that can connect in multiple ways. Corners, edges, inner corners, floor variations, and transition pieces make it easier to avoid repetitive-looking environments.
Auto-tiling and tile brushes can speed up production further. However, do not let visual variety interfere with readability. A dangerous floor, a walkable surface, and a background decoration should look clearly different.
You may also keep visual tiles and collision data separate. The visible tile map can contain detailed artwork, while a simpler collision layer defines which areas block movement.
Guide the Player with Visual Language
Players should usually understand where they can walk, what they can interact with, and which objects are dangerous without reading long instructions.
Use contrast, lighting, colour, motion, and composition to direct attention. A bright doorway in a dark room naturally attracts the eye. A moving collectible is more noticeable than a static background object.
Consistency is essential. If red spikes cause damage in one level, similar red spikes should not become harmless decoration later. If doors always have a glowing outline, maintain that rule throughout the game.
Foreground elements can add depth, but they should not hide important hazards or enemies. Decorative particles and large scenery may look impressive while making gameplay harder to read.
The player’s route does not always need to be completely obvious. Exploration games can include optional paths and hidden areas. However, the main route should still provide enough clues to prevent confusion from becoming frustration.
Control What the Player Sees with Cameras
A camera determines which part of a room is visible, while a viewport determines where and at what size that camera view appears in the game window. Cameras are especially important when a room is larger than the display area.
The camera affects level design because players can only react to what they can see. If an enemy attacks from outside the visible area, the encounter may feel unfair. If a landing platform is hidden below the screen, the player may be forced to jump blindly.
Give the player enough space to see upcoming challenges. In a fast platformer, the camera may look slightly ahead in the movement direction. In a top-down adventure, a centred camera may provide a more balanced view of nearby threats.
Camera boundaries can also create dramatic moments. Entering a boss room might lock the camera inside an arena, while a cutscene camera can reveal a distant objective.
GameMaker supports multiple cameras and up to eight active viewports, although most games need only one main gameplay view. Using multiple active views also causes regular Draw events to run for each visible view, which can increase rendering work.
Create a Strong Difficulty Curve
Difficulty should usually increase through meaningful combinations rather than simply adding more enemies.
Early sections can introduce individual threats. Later sections can combine them. A stationary enemy may be easy on flat ground but more challenging when placed near a narrow platform or moving hazard.
Give players time to recover after intense moments. Constant pressure can become exhausting, while long empty sections may feel dull. Alternating tension and relief creates better pacing.
Collectibles and optional challenges can support different skill levels. A beginner may follow the safest path, while an experienced player takes a dangerous shortcut to collect a hidden item.
Checkpoints should respect the difficulty and length of the section. Repeating a simple one-minute walk after every failed jump does not make the challenge deeper; it usually makes it more annoying.
Enemy placement should also have a purpose. Ask what each enemy contributes to the situation. If removing an enemy does not change the player’s decisions, it may not be necessary.
Use Paths and Room Inheritance Carefully
GameMaker paths can define routes for enemies, platforms, cameras, and other moving instances. The Path Editor lets you create points and adjust paths directly within a room’s space.
Paths are useful for predictable movement. A platform can travel between two points, while a guard may patrol a repeated route. Predictability allows players to observe patterns and plan their actions.
Room inheritance can also speed up production. You can create a parent room containing shared layers, camera settings, interface elements, or controller objects. Child rooms inherit those properties, and selected elements can have inheritance disabled when they need to differ.
This is useful for games with many levels using the same basic structure. However, inheritance should remain understandable. Deep chains of inherited rooms can become confusing when developers no longer know where a setting or object originally came from.
Playtest Before Polishing
The creator of a level already knows every route, trap, and solution. That makes it difficult to judge whether the design is clear to a new player.
Watch someone play without explaining what to do. Notice where they hesitate, which objects they ignore, and whether they understand why they failed.
Do not immediately blame the player for making a mistake. Repeated confusion often indicates that the level is communicating poorly.
Test the level in several passes. First, check whether it can be completed. Next, examine pacing, difficulty, camera behaviour, collision accuracy, and visual clarity. Finally, test performance and polish.
Small adjustments can have a large impact. Moving an enemy a few pixels, widening a platform, changing the camera position, or adding a visual landmark may solve a problem without rebuilding the entire room.
Strong GameMaker level design begins with the player’s abilities, not with decoration. Build simple blockouts, teach mechanics gradually, and use rooms, layers, tilesets, cameras, and paths to organise the experience.
A good level clearly communicates where players can go, what they should notice, and how each challenge works. Difficulty should grow through thoughtful combinations, while pacing should alternate between action, exploration, and recovery.
Create one short level using temporary assets and ask someone else to play it. Observe their decisions before explaining anything, then improve the areas that cause confusion.
Regular testing and iteration will do more for your level design skills than spending hours polishing a layout that has not yet proved enjoyable.